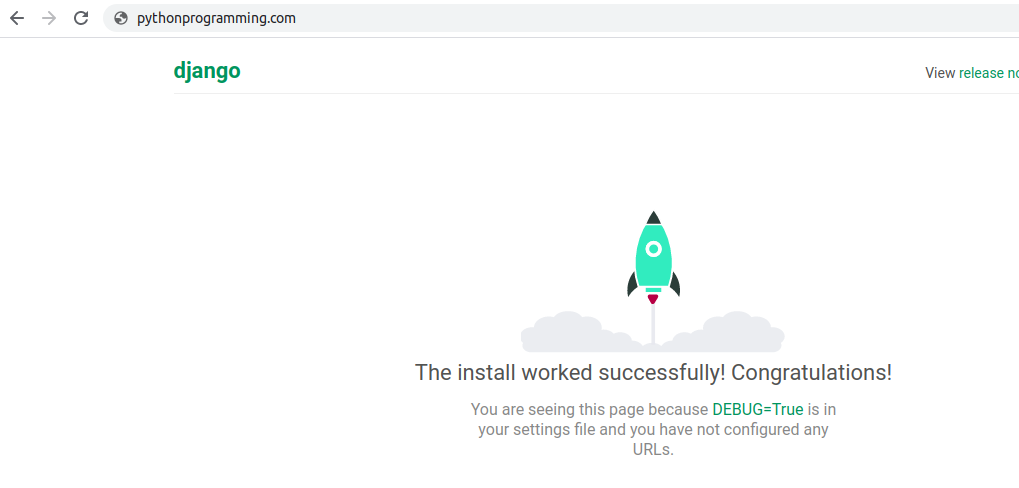
We already know how to host a Django app for free on Amazon (AWS) EC2 instance with Gunicorn and Nginx. But we were accessing the application using public IP. IP addresses are hard to remember and are not user-friendly.
Domain names are easy to remember and gives a unique identity to your web application or website. In this article, we will see how to use a custom domain purchased from GoDaddy to access our Django web application.
The public IP address assigned to our EC2 instance can be changed if we restart the instance. We need to have an IP address that does not change every time our EC2 instance restarts. Elastic IP comes to rescue here.
Associating an Elastic IP to EC2 instance:
In the left-hand side menu of your EC2 instance dashboard, click on Elastic IP link.
Click on the 'Allocate Elastic IP Address' button.

Check the radio button 'Amazon's pool of IPv4 addresses' on the next screen and proceed. You will be assigned a new Elastic IP.
Now select this IP address and associate this with your running EC2 instance.
Once this IP address is associated with your EC2 instance, this will your public IP. You can access your application on this IP address now. (Refer this article to learn how to access your Django application using public IP).
Now we have a static IP address associated with our EC2 instance which will not change between instance restarts.
Using a custom domain to access the Django application:
First, go to your domain registrar's website and manage your DNS settings.
In the A record, update the Elastic IP obtained previously.

Now go to your Nginx sites-available folder and in the respective file, update the server block.
Replace the YOUR-PUBLIC-IP we used with the domain name.
server {
    listen 80;
    server_name YOUR-PUBLIC-IP;

    # to avoid any error while fetching fevicon
    location = /favicon.ico { access_log off; log_not_found off; }

    location /static/ {
        root /home/ubuntu/helloworld;
    }

    location / {
        include proxy_params;
        # communicate via socket file created by Gunicorn
        proxy_pass http://unix:/home/ubuntu/helloworld/helloworld.sock;
    }
}
The third line will become
server_name example.com
Reload the Nginx server using the command
sudo service nginx reload
Update the settings.py file:
In your Django project's settings.py file, update the allowed hosts variable. In addition to public IP, add the domain name in the list.
ALLOWED_HOSTS = ["3.12.45.222", "example.com"]
Wait for 10-20 minutes to propagate the A record changes.
Go to your browser and access your Django app using the domain name.

Host your Django App on PythonAnyWhere without any hassle.


