In previous part, we installed Elasticsearch and Kibana. Now we will create a Django project and will link the elastic search with the project.
Django Project:
You can follow the official Django tutorials to create and start a Django project. Or you follow below steps. We will be following the official documentation, but only the necessary steps.- Make sure python 3 is installed on your machine. Although not mandatory but it is recommended to use virtual environment.
- Install Django. Setup a database. We will be using MySQL.
- Create a project.
$ django-admin startproject elasticsearchdjango
- Change directory to elasticsearch. Create a new app 'poll'.
$ python manage.py startapp polls
- If you are using virtual environment than install the dependencies using pip install -r req.txt file after saving below lines in req.txt file.
certifi==2017.11.5
chardet==3.0.4
Django==1.10.6
elasticsearch==5.5.1
elasticsearch-dsl==5.3.0
idna==2.5
mysqlclient==1.3.10
python-dateutil==2.6.1
pytz==2017.2
requests==2.18.1
six==1.10.0
urllib3==1.21.1
- Create a model in polls/models.py file.
from django.db import models


class Question(models.Model):
    author = models.CharField(max_length=100)
    question_text = models.CharField(max_length=1000)
    pub_date = models.DateTimeField('date published')
- Register your model in admin.py
from django.contrib import admin
from .models import Question

# Register your models here.

# Need to register Question so it shows up in the admin
admin.site.register(Question)
- Add your app 'polls' in installed apps in settings.py file.
# Application definition

INSTALLED_APPS = [
    'django.contrib.admin',
    'django.contrib.auth',
    'django.contrib.contenttypes',
    'django.contrib.sessions',
    'django.contrib.messages',
    'django.contrib.staticfiles',
    'polls',
]
- Update your database configurations in settings.py file. We will be using MySQL. Create a database with name 'elasticsearchdb'.
DATABASES = {
    'default': {
        'ENGINE': 'django.db.backends.mysql',
        'NAME': 'elasticsearchdb',
        'USER': 'root',
        'PASSWORD': 'root',
        'HOST': '127.0.0.1',
        'PORT': '3306',
    }
}
- Go to terminal, run below commands to create tables in DB.
python manage.py makemigrations
python manage.py migrate
- Create a super user to login in admin panel.
python manage.py createsuperuser
- Now run server with below command
python manage.py runserver
- Go to your browser http://localhost:8000/admin/ , login to admin panel and add question in Questions table.

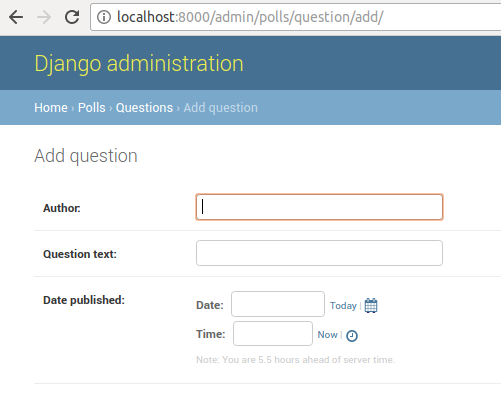
Now our Django project skeleton is ready. Lets connect Django Project to Elastic Search.
Connecting to Elastic Search:
- Install the python package elsaticsearch-dsl using pip.
pip install elasticsearch-dsl
- Create a new file
elastic_search_connection.py in your app 'polls'. Paste below content in it. Read comments to know what part of code is doing what?
from elasticsearch_dsl.connections import connections
from elasticsearch_dsl import DocType, Text, Date

# creates a global connection to elastic search
connections.create_connection()


# defines what needs to index in elastic search
class QuestionsIndex(DocType):
    author = Text()
    question_text = Text()
    pub_date = Date()

    class Meta:
        # name of index. Will be used in search
        index = 'questions-index'
So we are creating a global connection to elastic-search here. Then we are defining what we are indexing in elastic-search. Name of the index will be 'questions-index' .
- Now we will create a signal which will be triggered on every save event of question model instance. For this create a file signals.py in polls app directory.
from .models import Question
from django.db.models.signals import post_save
from django.dispatch import receiver


@receiver(post_save, sender=Question)
def index_question(sender, instance, **kwargs):
    instance.indexing()
This signal works as receiver on each
post_save event where sender of signal is Question model. Everytime post_save event is triggered, it is received by this signal and it indexes the instance of Question model.
- We need to create indexing method in Question model for above code to work. Code in model class should look as below.
from django.db import models
from .elastic_search_connection import QuestionsIndex


class Question(models.Model):
    author = models.CharField(max_length=100)
    question_text = models.CharField(max_length=1000)
    pub_date = models.DateTimeField('date published')


    # indexing method of Question model
    def indexing(self):
       obj = QuestionsIndex(
            meta = {
                'id':self.id
            },
            author = self.author,
            pub_date = self.pub_date,
            question_text = self.question_text
       )
       obj.save()
       return obj.to_dict(include_meta=True)
- We also need to inform Django project that we are using signals. Add below config code to app.py .
from django.apps import AppConfig


class PollsConfig(AppConfig):
    name = 'polls'

    def ready(self):
        import polls.signals
- Now we need to tell Django that we are using new config defined in app.py . Add below line in __init__.py file of polls app.
default_app_config = 'polls.apps.PollsConfig'
Restart the Django project server. Now open a new terminal and start the elastic search as discussed in part 1 of this article.
Go to admin panel and save data in Question model.
Now navigate to this url http://127.0.0.1:9200/questions-index/questions_index/6?pretty in your browser.
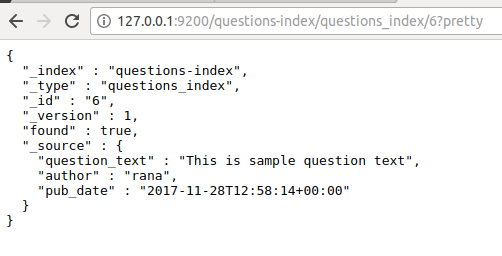
questions-index is the name of index. questions_index is the name of class QustionsIndex in snake notation.
This complete code is available on Github.
Using Kibana to search, browse and visualise data:
We already installed and started the kibana in previous article. Go to the homepage of kibana which will be running onlocalhost:5601.
Initially there is no index pattern configured and it will ask us to configure one.
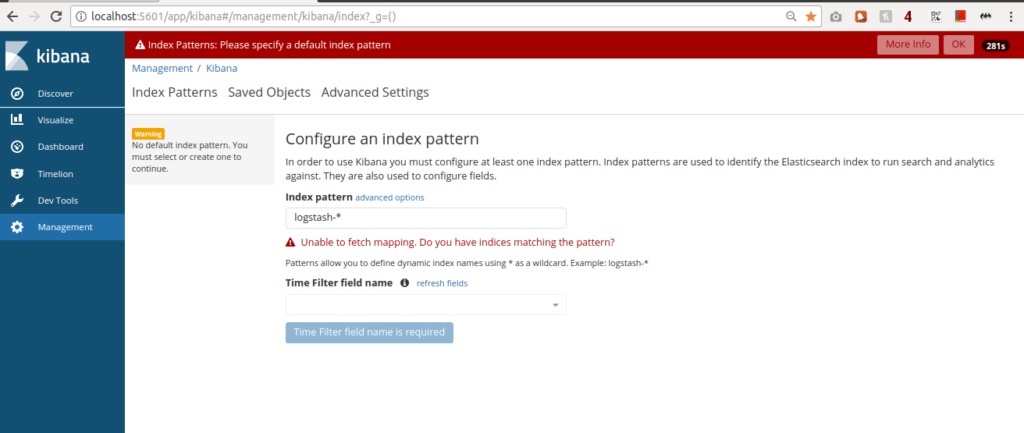
Type the name of your index in index pattern input box. You can use wild cards. Once index patter is configured, you will see the data in matching index pattern.
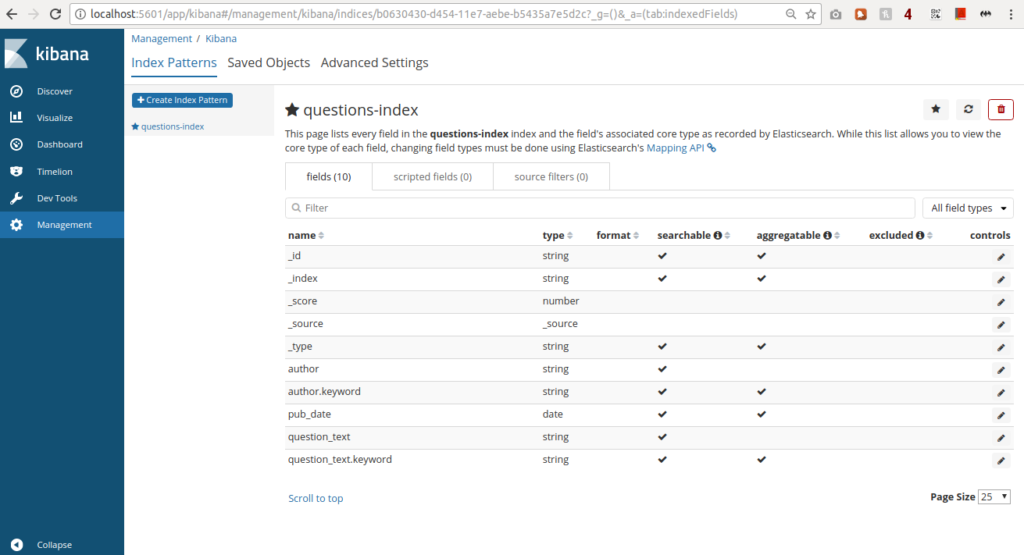
Now you can start exploring your data.
- Search and browse your data interactively from the Discover page.
- Chart and map your data from the Visualise page.
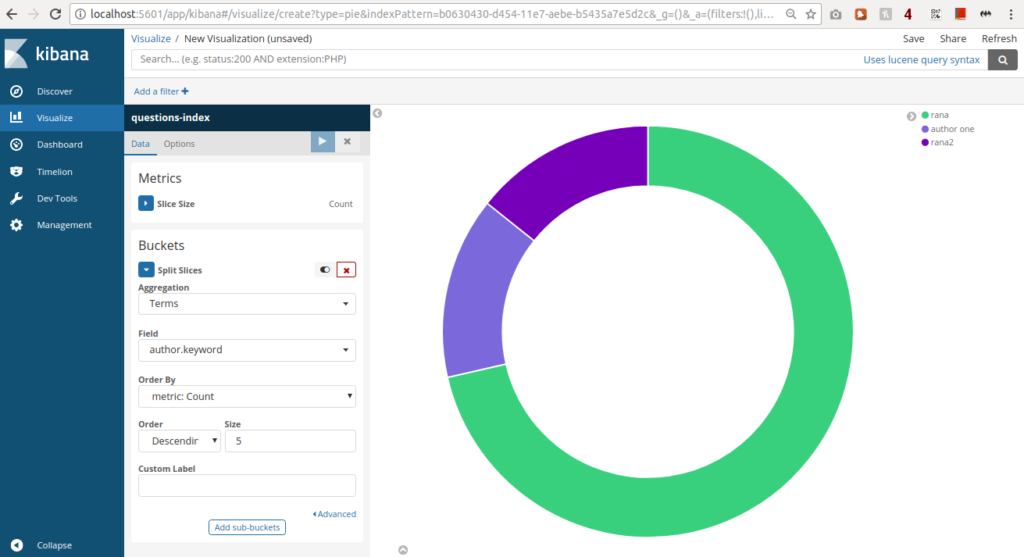
- Create and view custom dashboards from the Dashboard page. 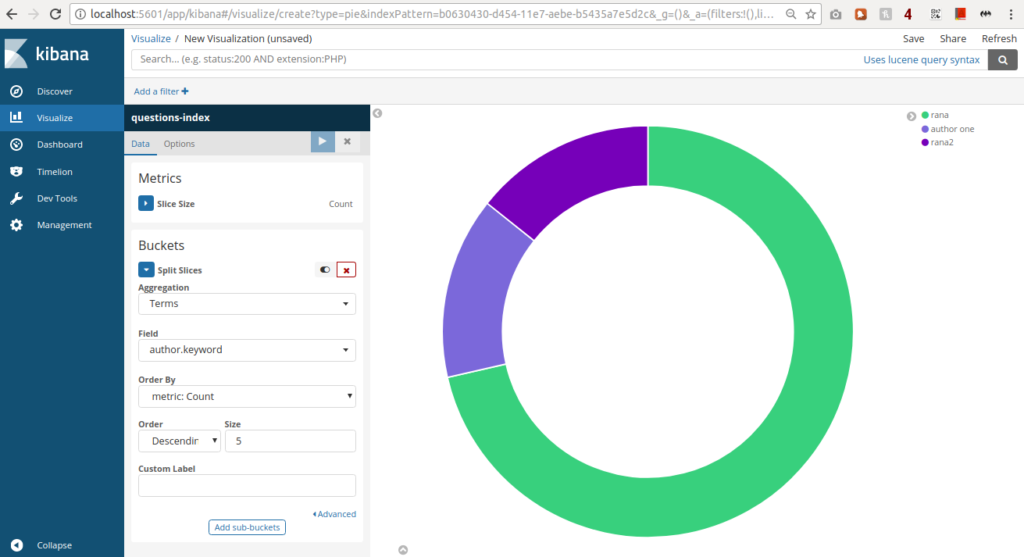 Pie chart showing distribution of Authors (column in questions model)
Happy learning.
